Homemade yogurt is easy and inexpensive. Milk + yogurt + heat = homemade yogurt. Here’s your recipe!
How do you make homemade yogurt? Milk + yogurt + heat
and it’s about that easy!
- Wash your hands and equipment this helps keep the yogurt safe to eat.
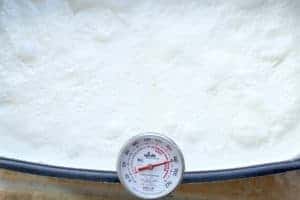
- Heat milk in a slow cooker or heavy pan, heat milk to 180° F. and keep at that temperature for 10—15 minutes. Cool to 110° F. This creates a thicker yogurt. If you’re heating on stove, stirring prevents milk from boiling over. In a slow cooker, there’s no need to stir, (in fact, you shouldn’t stir because that will cool the milk) but to reach 180℉ could take a couple of hours or more. A thermometer is the only way to be accurate.
- Introduce premade plain yogurt this provides a starter culture
- Store in a warm place so bacteria can multiply and fermentation happens.
The ingredients
- 1 gallon milk, I use whole milk or 2% (reduced fat)
- 1/2 cup plain yogurt, with live and active cultures (Save some yogurt to use as the starter for the next batch of yogurt.)

Why make yogurt?
While store-bought yogurt is convenient,
- I like the sugar level. Low.
- I like reducing the number of plastic containers I throw away. A milk jug.
- I like the cost. A gallon of milk.

How to make homemade yogurt

What is fermentation?
Fermented foods and healthy bacteria are hot topics. Fermentation uses bacteria and yeasts to convert sugars and starches into an alcohol or acid which creates foods and flavors. Such as wine, beer, bourbon, bread, soy sauce, sauerkraut, coffee, cheese, kombucha, chocolate, sourdough, and yogurt.
When shopping for fermented foods, choose brands that state they contain live organisms. Canned and jarred foods that are heat processed (or pasteurized) may not be good sources because high heat kills the bacteria. However, some food manufacturers add probiotics to the food after pasteurization.
Yogurt’s health benefits? Good bacteria are probiotics
Yogurt is fermented milk. Many yogurts contain live and active cultures, Streptococcus thermophilus, Lactobacillus acidophilus and Lactobacillus bulgaricus. These are the bacteria that cause the fermentation and may provide health benefits. That’s what a probiotic is: a live microorganism that confers a health benefit on its host (you) after it’s eaten.
What is a probiotic?
A probiotic is a live microorganism, bacteria or yeast, that provides a health benefit to its host. It must be alive so when it reaches the microbiota colony of actual live organisms on your body or in (like your gut).
Live and active cultures are not necessarily probiotics, but they are responsible for fermentation. Fermented foods may be a probiotics, but not all fermented foods all. Be a label reader to see if probiotics are present.
Yogurt may be a probiotic. Some strains of bacteria contribute to a healthy digestive tract. Because of the bacteria, if you have trouble digesting milk, you may find yogurt suits you better.
Enough of the science, let’s cook!!
Pin it for later!

Homemade Greek-style yogurt…straining yogurt pros and cons
✅ Pros: Concentrated, so has more protein. Lactose, a milk sugar, is reduced, making it easier to digest. Less sugar means the yogurt is tart.
✅ Cons: Lower in calcium. Much of the calcium is in the liquid (whey) that you strain.
How to flavor homemade yogurt
Sweet yogurt

- Blueberry, spelt, yogurt scones
- top with mango, crystallized ginger, toasted coconut
- stir in honey, chopped pistachio
- sprinkle on mango, instant coffee ground, cinnamon
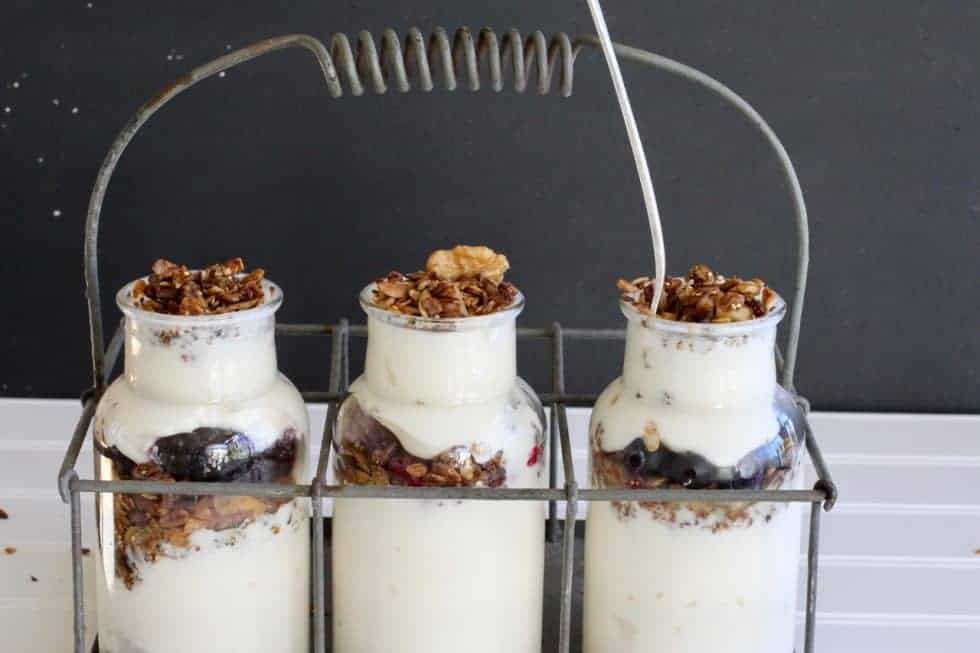
- scoop granola over

Savory yogurt

- make tzatziki sauce
- add cucumber, tomato, basil
- top with avocado, jalapeno
- stir in salsa, corn, black beans
- add canned clams (chopped, drained), salt, and pepper for clam dip
- top tacos with yogurt
- sprinkle herbs and flowers over

Would you like more tips and recipes? Sign up for my newsletter.
This post may contain affiliate links which means if you click through and make a purchase, the seller pays me a commission. It does not increase the price you pay. As an Amazon Associate, I earn from qualifying purchases.
PrintStep-by-step how to make homemade yogurt
Homemade yogurt is easy to make with just milk and yogurt.
- Prep Time: 5 minutes
- Cook Time: 9 hours
- Total Time: 9 hours 5 minutes
- Yield: 1 gallon 1x
- Category: Breakfast
- Method: slow cooker
Ingredients
- 1 gallon milk, I use whole milk or 2% (reduced fat)
- 1/2 cup plain yogurt, with live and active cultures
Instructions
- Heat milk. In a slow cooker or heavy pan, heat milk to 180° F. and hold at that temperature for 10—15 minutes.
This helps create a thicker yogurt. If heating on stove, stirring prevents milk from boiling over. In a slow cooker, don’t stir it because that keeps the milk from heating up. Expect that heating the milk may take a couple of hours or more. A thermometer is the only way to be accurate.
- Cool milk. Cool the 180° F milk to 110°-118°F. I put ice and water in the sink then put the pan of warm milk in sink. Pull off the protein skin as it develops. Stir ocasionally to cool the milk. Watch the temperature because it drops quickly. If it cools too much you’ll need to reheat to 110° F because you need an ideal temperature for the starter bacteria to flourish.
- Make starter. In a separate bowl, make the starter culture by mixing 1/2 cup plain yogurt with 1 cup of the 110-118° F. milk. Stir milk/yogurt mixture into the warm milk.
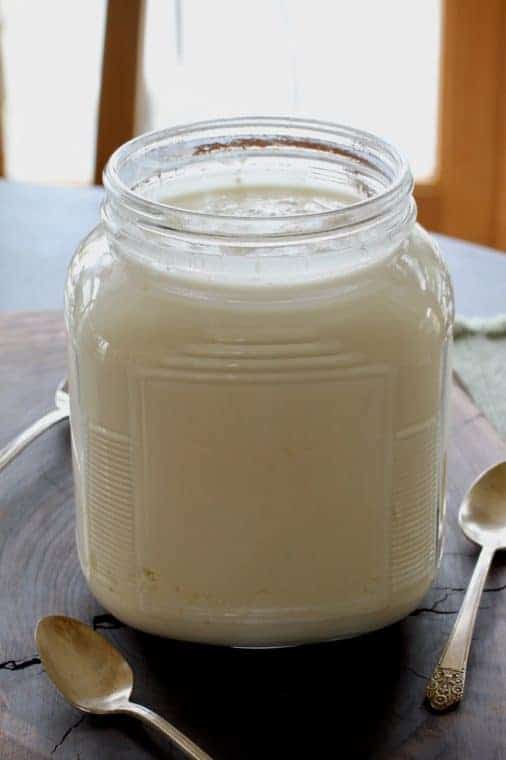
- Incubate. Heat oven to 100° F. Turn off oven. Place pan or slow cooker (with lid on) of yogurt in oven with the oven light on. Let sit for 6—12 hours. It should be thick and look “cultured” — that it’s set and firm (like baked custard). The longer it sits, the thicker the yogurt.
- Refrigerate. Place pan or slow cooker in fridge to cool. It thickens as it cools but remains on the runny side. Store in refrigerator up to a month.
- To thicken. Pour off excess liquid. Spoon yogurt into a strainer lined with a coffee filters or paper towels. The longer you strain, the thicker the yogurt becomes. If straining for 60 minutes or less, you can do it in the sink. Longer straining should be done in the fridge.
Notes
Save some yogurt to use as the starter for the next batch of yogurt.


Comments
Thank you Judy!
Did you make yogurt, Pat? How’d it go?
Pingback: 62 Kitchen Staples that are Easy to Make at Home | No Waste Nutrition